
We believe you should be able to customize the look of your tracking e-mail, to every possible extent.
That's also why we display the entire HTML code directly in our editor.
But it does come with a downside. It makes things like adding a logo a little harder, for anyone that doesn't know HTML all that well.
This guide will show you, step-by-step, how to add your logo at the top of your tracking email.
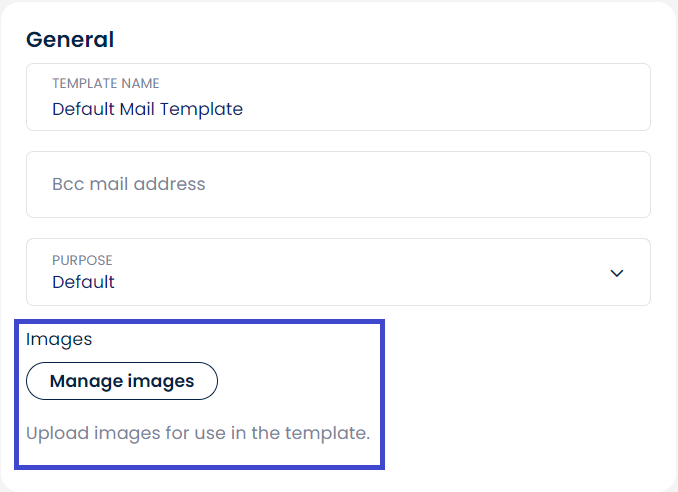
First, we need to add the logo to Webshipper. You can do this by clicking Manage Images.
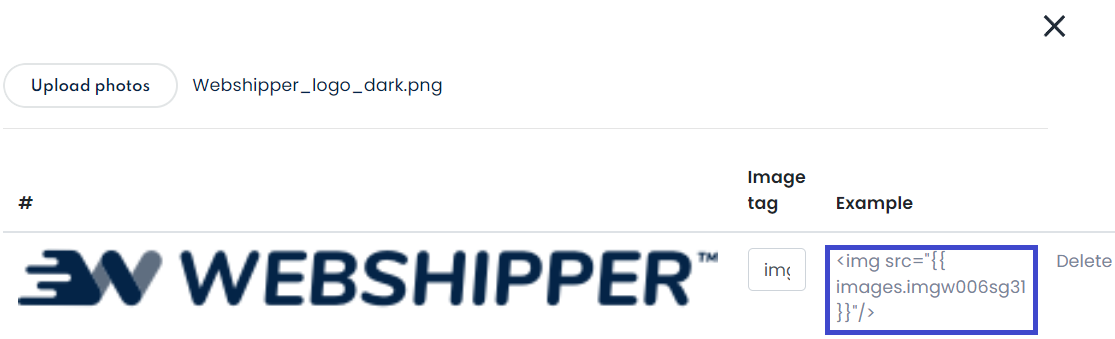
When you have uploaded the logo, you should see a bit of HTML code under the column Example. This text is what we need to add to the editor. Go ahead and copy this from your uploaded logo.
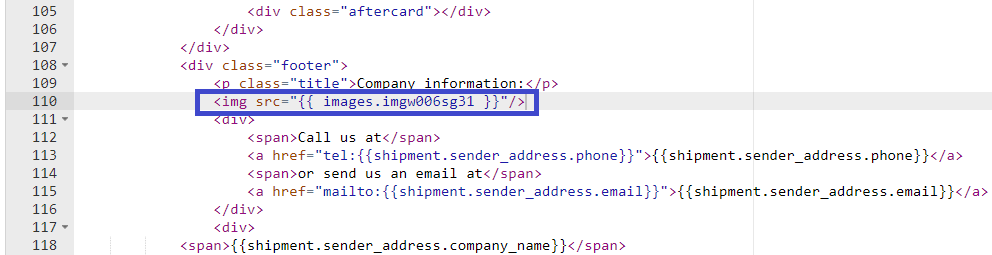
Head back into the editor and scroll down to line 1437.
This is where you add the piece of text you copied earlier, leaving you with something like this:
And that is it. You've now added a logo to your template.