So you wish to dynamically administrate your prices? With Cost Sheets, you can do exactly that.
Follow these steps to set it up and get started.
1. Create Cost Sheet
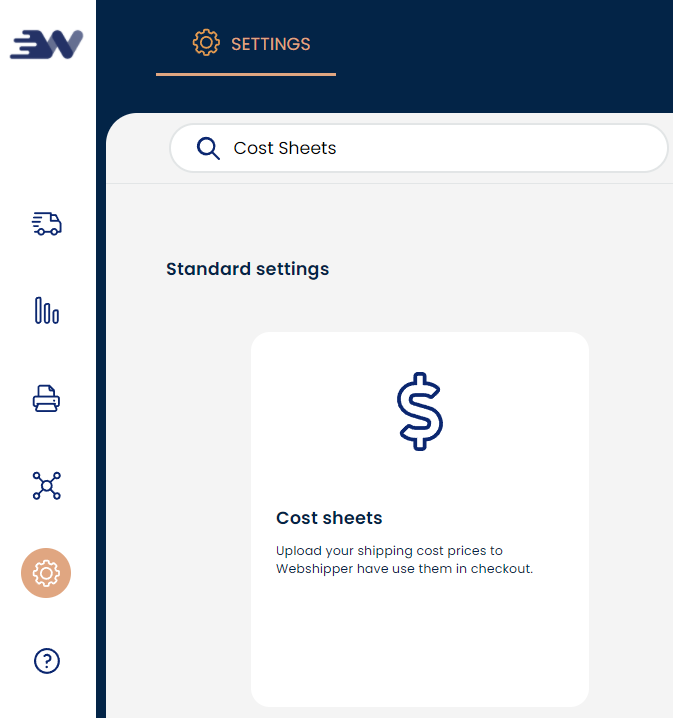
- Navigate to Settings > Cost Sheets
- Click Add cost sheet
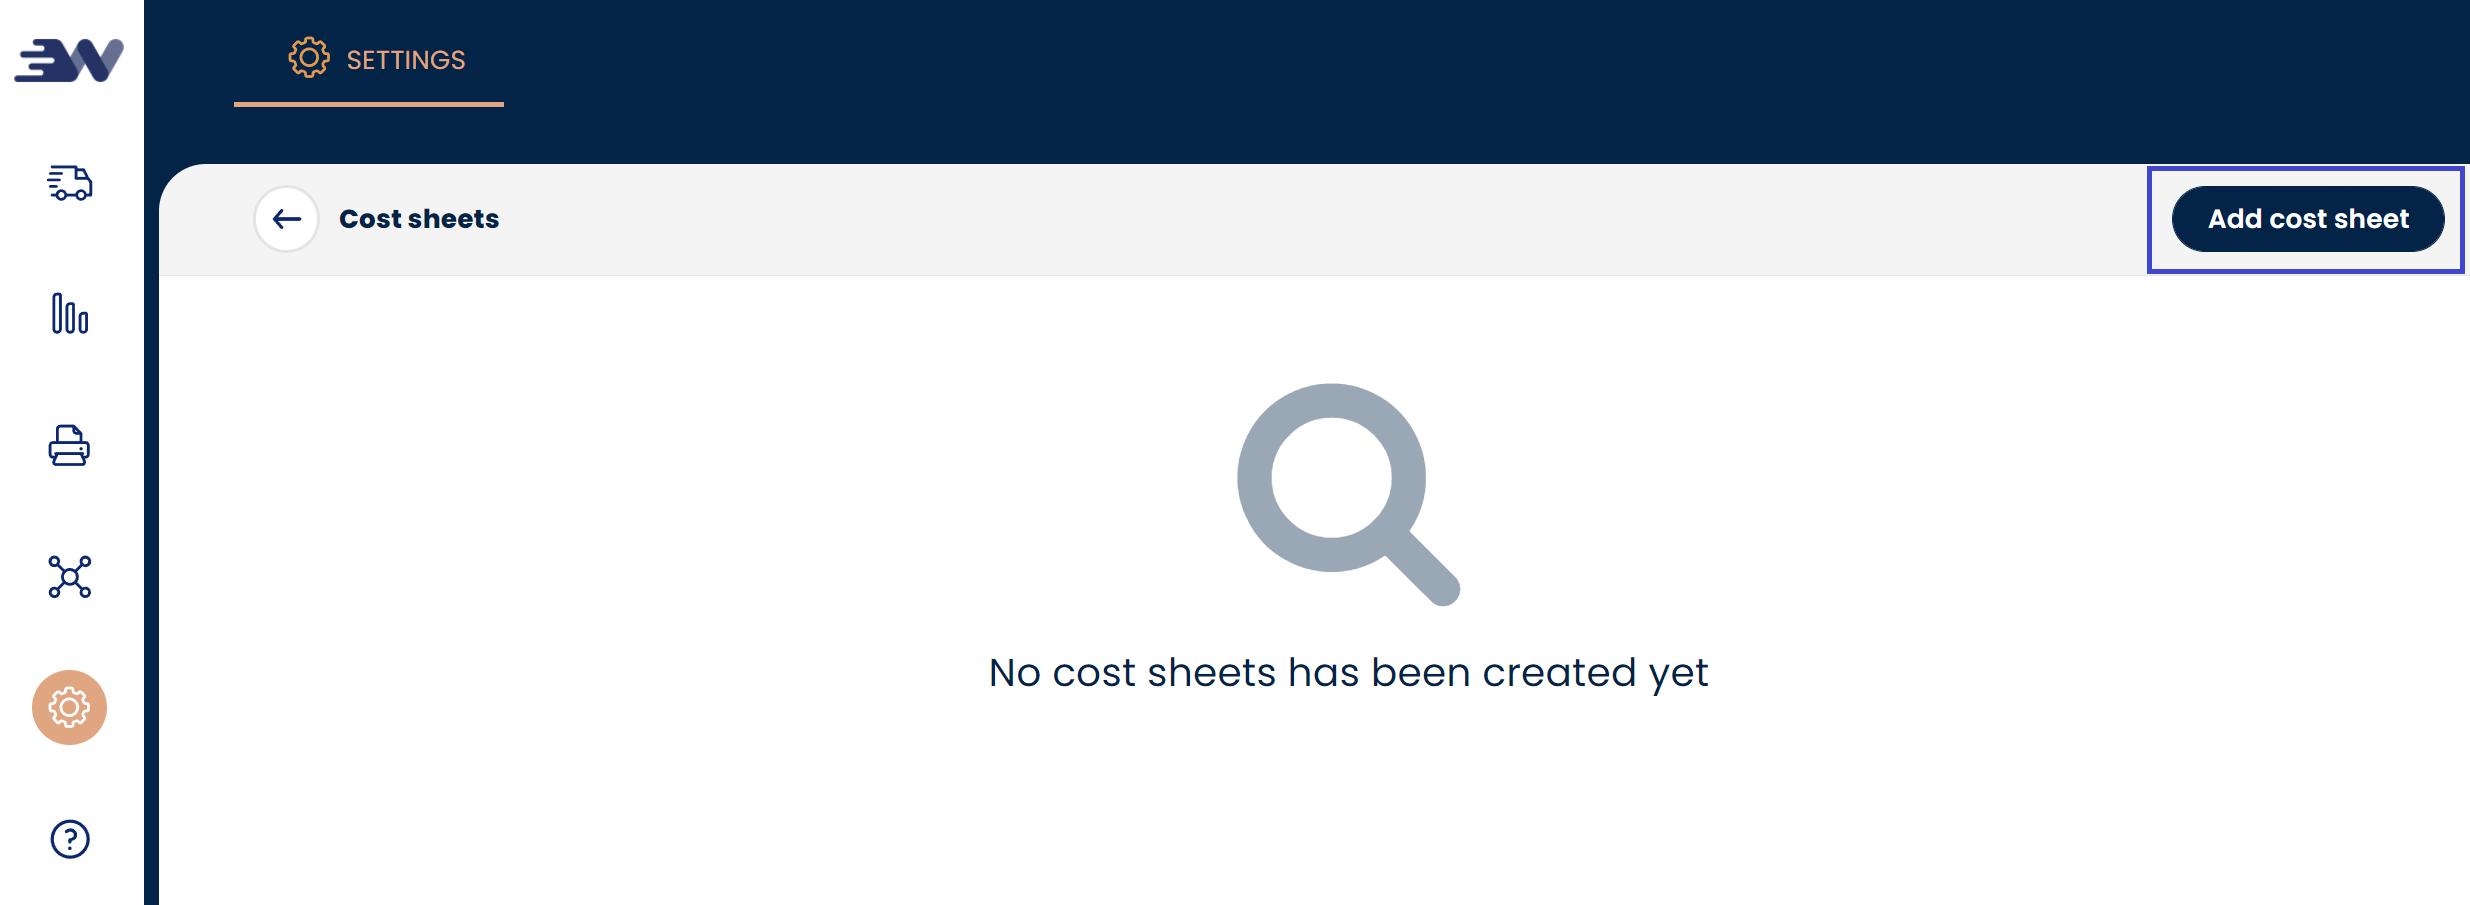
- Select one of your own carriers in your account for which you want to apply a cost sheet. Note: Only one cost sheet per carrier is supported.

- Select which price type to apply.

You can select three different types of prices.- Carrier list prices. Standard prices offered by the carriers and stored by Webshipper. Currently only supported for PostNord and GLS Unibox.
- Upload a PDF file with prices to have Webshipper read from. This will soon be changed into CSV files instead and is currently only supported on PostNord Denmark.
- Manual Input. Input your own prices and intervals as you would like them on any carrier.
- Finish by selecting a time interval for when the prices should be valid and click Save.

2. Set up prices in the sheet
When you click Save, the Cost Sheet will be created and by default set as deactivated until you define costs per service.
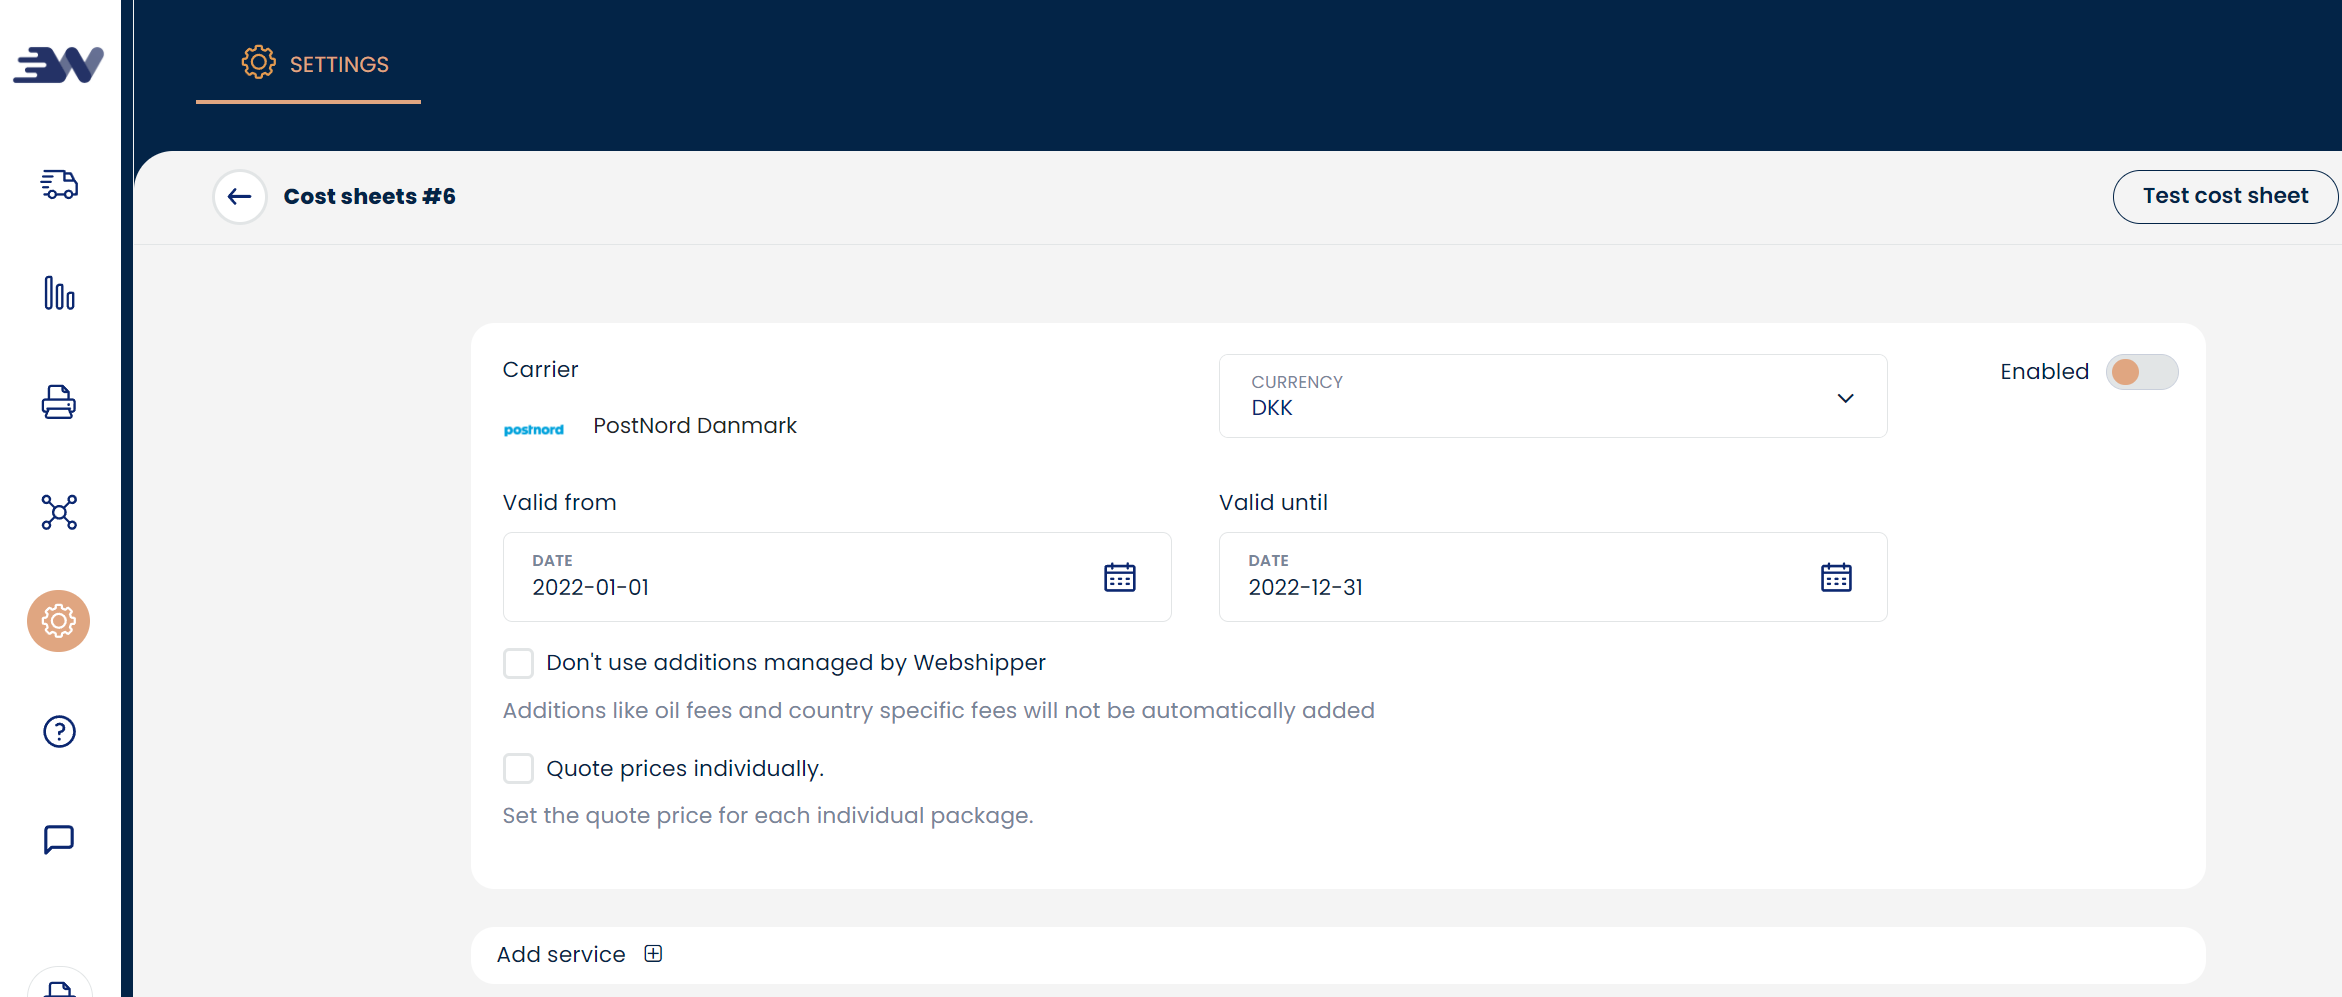
Once created you can set the following:
- Currency
- Time validation
- Additions (tillæg) from Webshipper. This feature is not in use yet in Webshipper and the checkbox should therefore always be checked.
- Add service
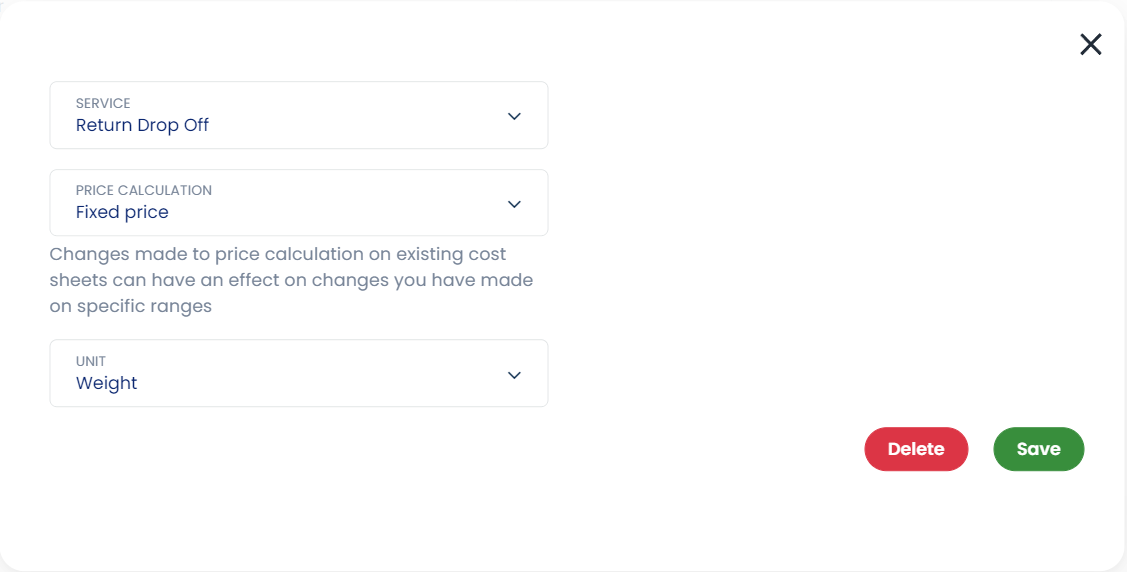
When you click Add Service you will see the following pop-up. In this select your desired:
- Service
- Price calculation
- Fixed price
- Price per unit (kg, ldm, m3)
- Unit
- Weight
- Load meters
- Volume
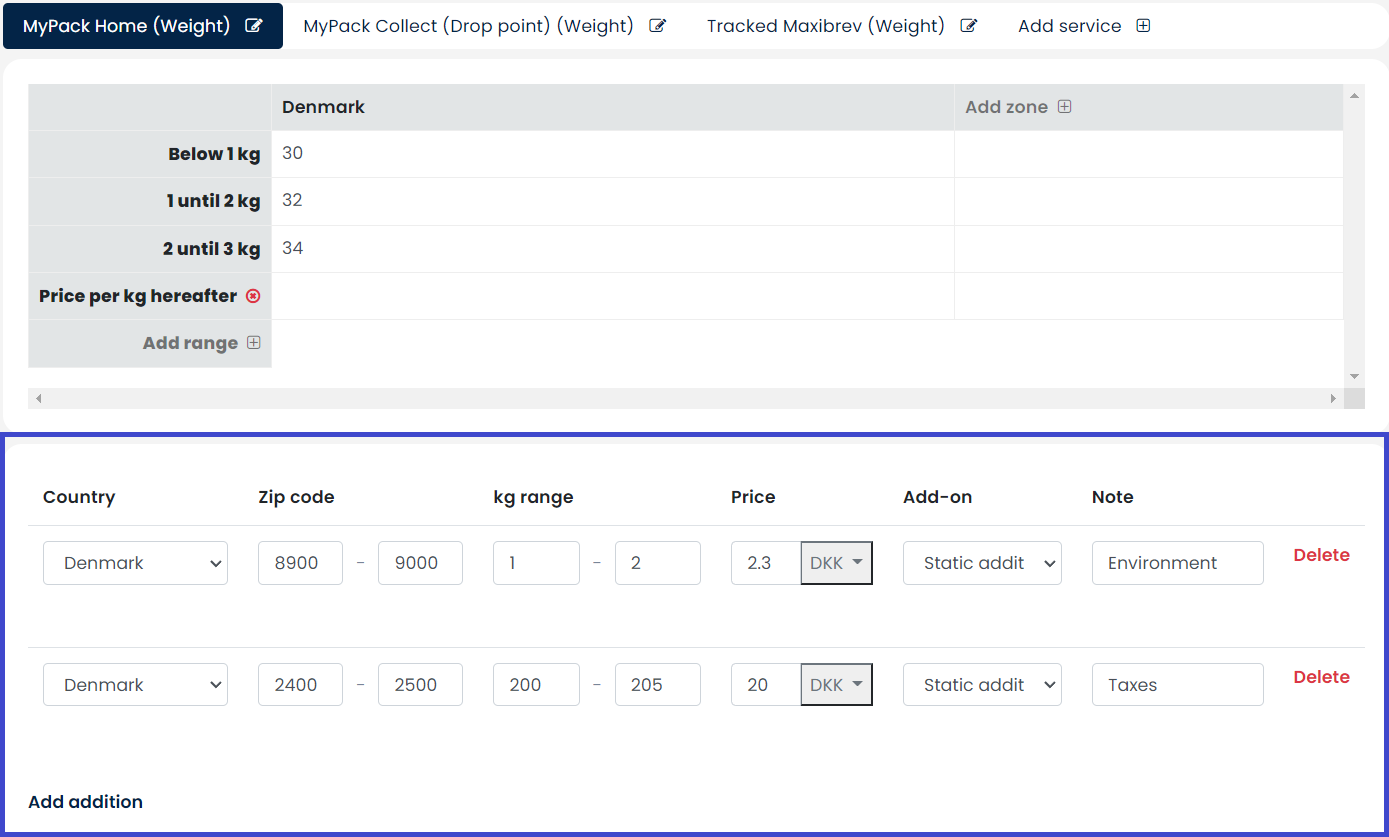
Once you have specified the service details, you can add weight specifications, countries, prices and areas to your sheet.
Any area in the table is now clickable and can be filled in and/or edited.

- Add specific zip codes. If left blank it will look at the entire country
- Add Unit interval ranges. In this example, we have selected Weight but it could also be Volume and Load meters.
- Add another country or the same, with another zip code interval (optional).
Once done, you should have multiple tabs for each service on your carrier. Click on each tab to see details.

3. Static price additions
Lastly, you also have the option of adding an extra static price either in the given currency but also in percentage. Click Add addition and enter the specific details for your addition. This will cause each price in your sheet to have an extra addition to your prices.
4. Activate the Sheet
Now to apply the cost sheet you have created, simply activate it and finish by going to your order channel shipping rate and checking Carrier Quote / Cost Sheet to apply it to your shipping rate.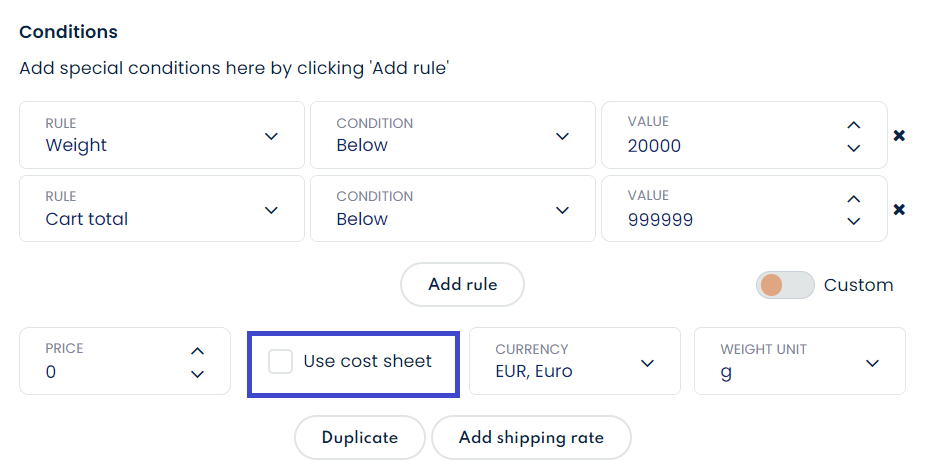
Hopefully, this helped you to get started with cost sheets, if you have any further questions about the cost sheets, please contact nShift Customer Service.
