Everything you need to know regarding return shipments
There are several ways for you to generate a return shipment in Webshipper. This article will guide you through all the settings of it.
1. Create a return shipping rate
2. Automatically create return shipments on a standard rate
3. Automatically send a return email to the customer
4. Create a single return shipment
1. Create a return shipping rate
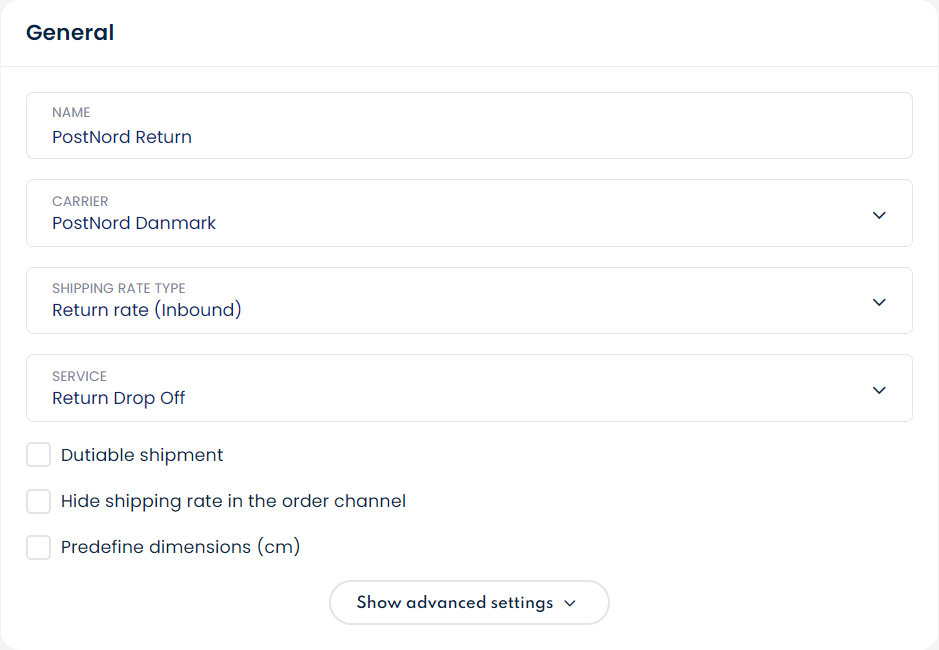
Before creating a return shipment and the associated label, you need to make sure that you have created a return rate.
- Go to Connect Order channels and pick your order channel.
- Click Create shipping method in the bottom right corner and choose the carrier that you want to use for your return rate.
- Instead of Standard rate (Outbound) as the shipping rate type, you need to select Return rate (Inbound).
- Finally, adjust the remaining settings to your liking and click on Create shipping method.

2. Automatically create return shipments on a standard rate
When you have created a return shipping rate, you can choose to automatically create a return shipment every time an order is placed on a standard (outbound) rate. Go to Connect > Order channels > select your channel and create a new standard rate or edit a standard rate by clicking on an existing rate name.
On the right side of the page, you can fill in your return shipping rate in the first drop-down menu as shown in the example below:

3. Automatically send a return email to the customer
On a given standard shipping rate, it is also possible to send a return email to the customer.
Simply go to Connect > Order channels > select your channel > select standard shipping rate you have created > On the right side of the page, you can select one of your created return shipping rates in the first drop-down. In the second drop-down menu, select a return email template you wish to use.

You are now done and on your shipping rate, customers will now always receive a return shipment and an email regarding it.
4. Create a single return shipment
Once you have created the return rate, you are ready to create return shipments. Creating a return shipment for an order is easy, simply navigate to the order for which you want to create the return label.
Once inside a given order, there are several options to do it.
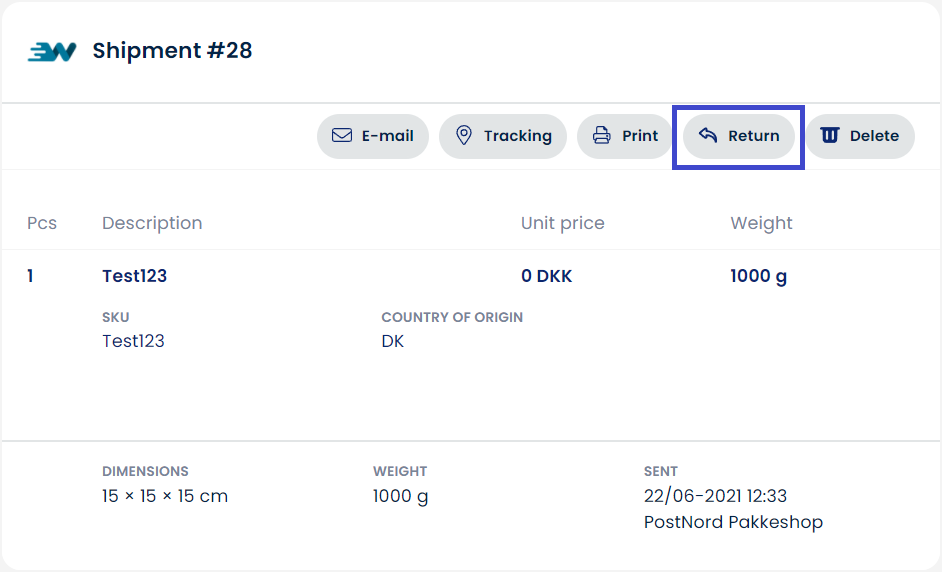
a. Click Return in the shipment box at the top.
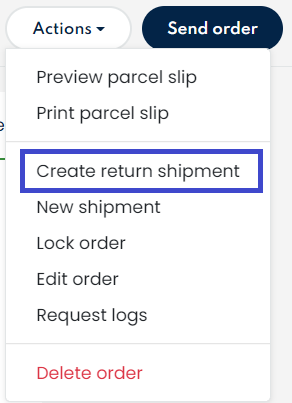
b. Click on Actions and then Create return shipment.
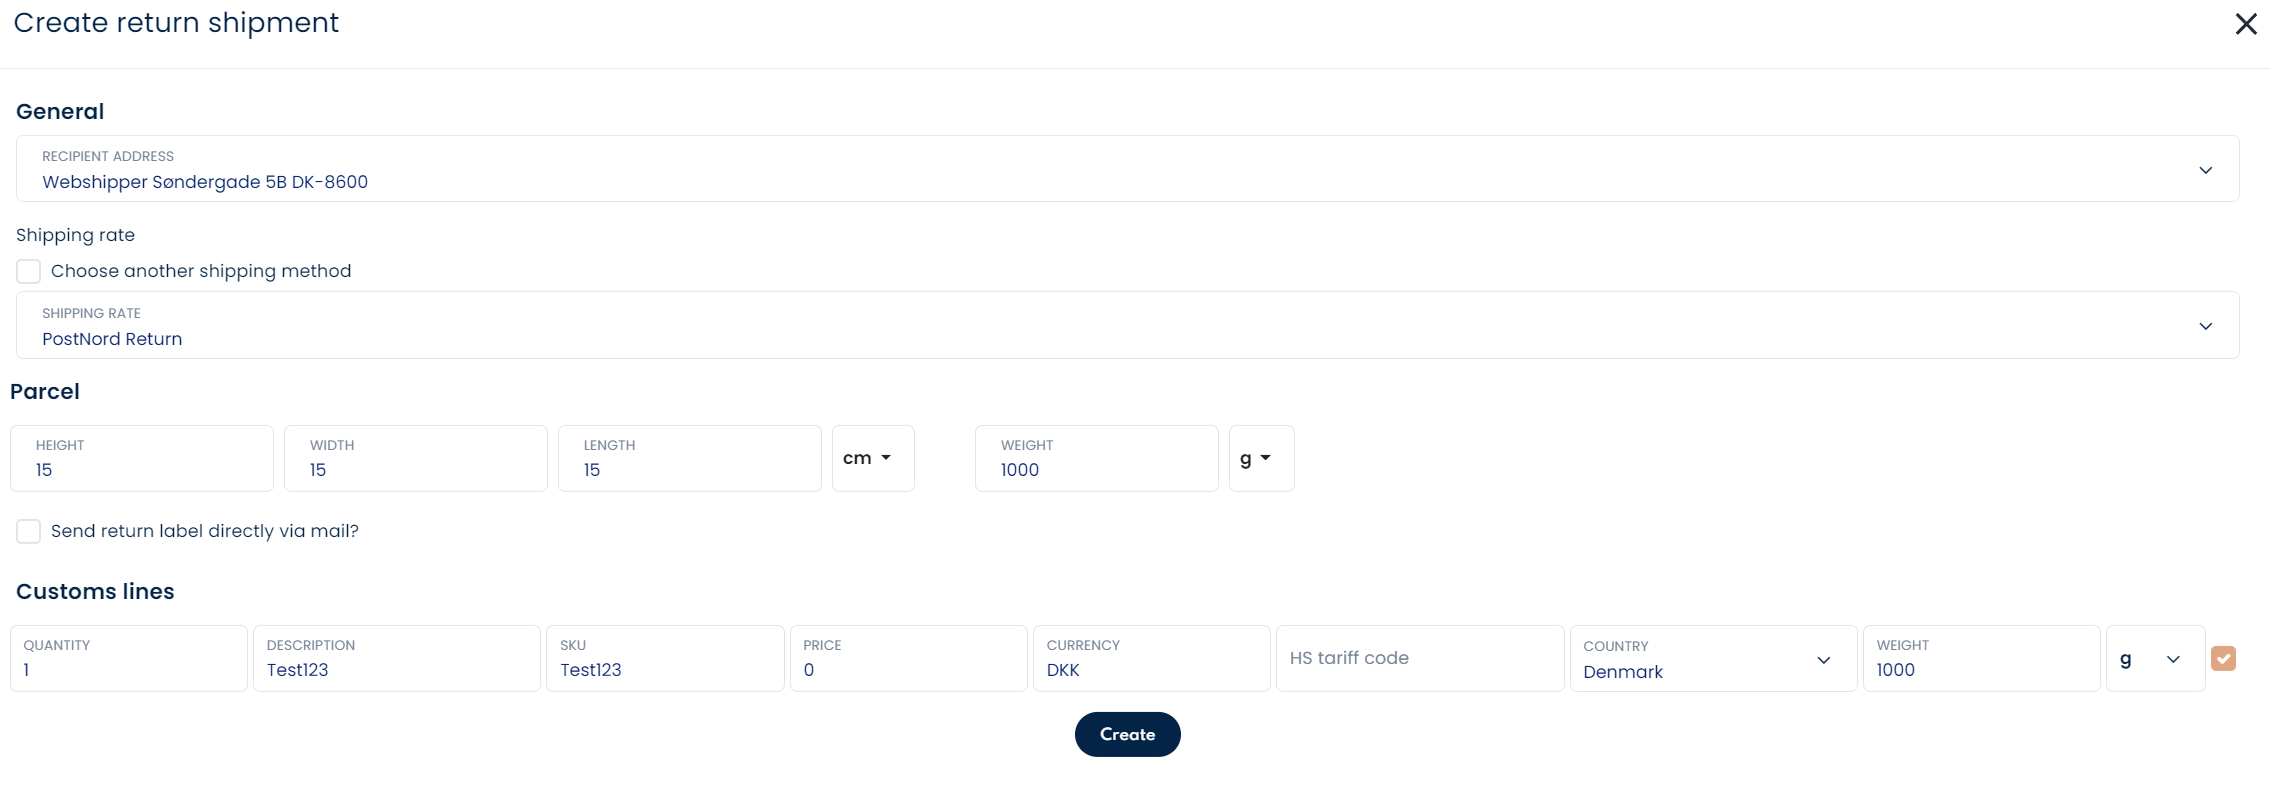
You will be asked to define the weight, height, width and length of your shipment together with the shipping method for the return shipment. Select your return rate and press Create.
|
Click on 'Actions' and then 'Create return shipment'. You will be asked to define the weight, height, width and length of your shipment together with the shipping method for the return shipment. Select your return rate and press Create. Your return shipment has now been created and you may now print the return label just like a normal shipping label. Congratulations! You have created your first return label. |
|


