See how you can set up reports exactly how you would like them with this complete guide.
Whether it is End of day, Usage, or a different kind of report you wish to create, this guide will take you through each input field and help you set it exactly how you would like it.
Contents:
- The Basic section
- The Scheduled section
- Conditions section
- The header section
- The Columns section
- The Footer section
The Basic section
Tart by giving your report a name. Then base the report on what you wish in the drop-down menu.
For my example, I wish to create an End of Day report. So I have chosen to base it on shipments.

It starts like this.

The Scheduled section
Here you can choose if you would like to have the report created automatically and if you would like an email with a download link automatically.

Conditions section
In this section, you can set what the general conditions for the report should be. In this example, I wish to have it created since the last report or every 24 hours. This helps me to not see any double shipments.
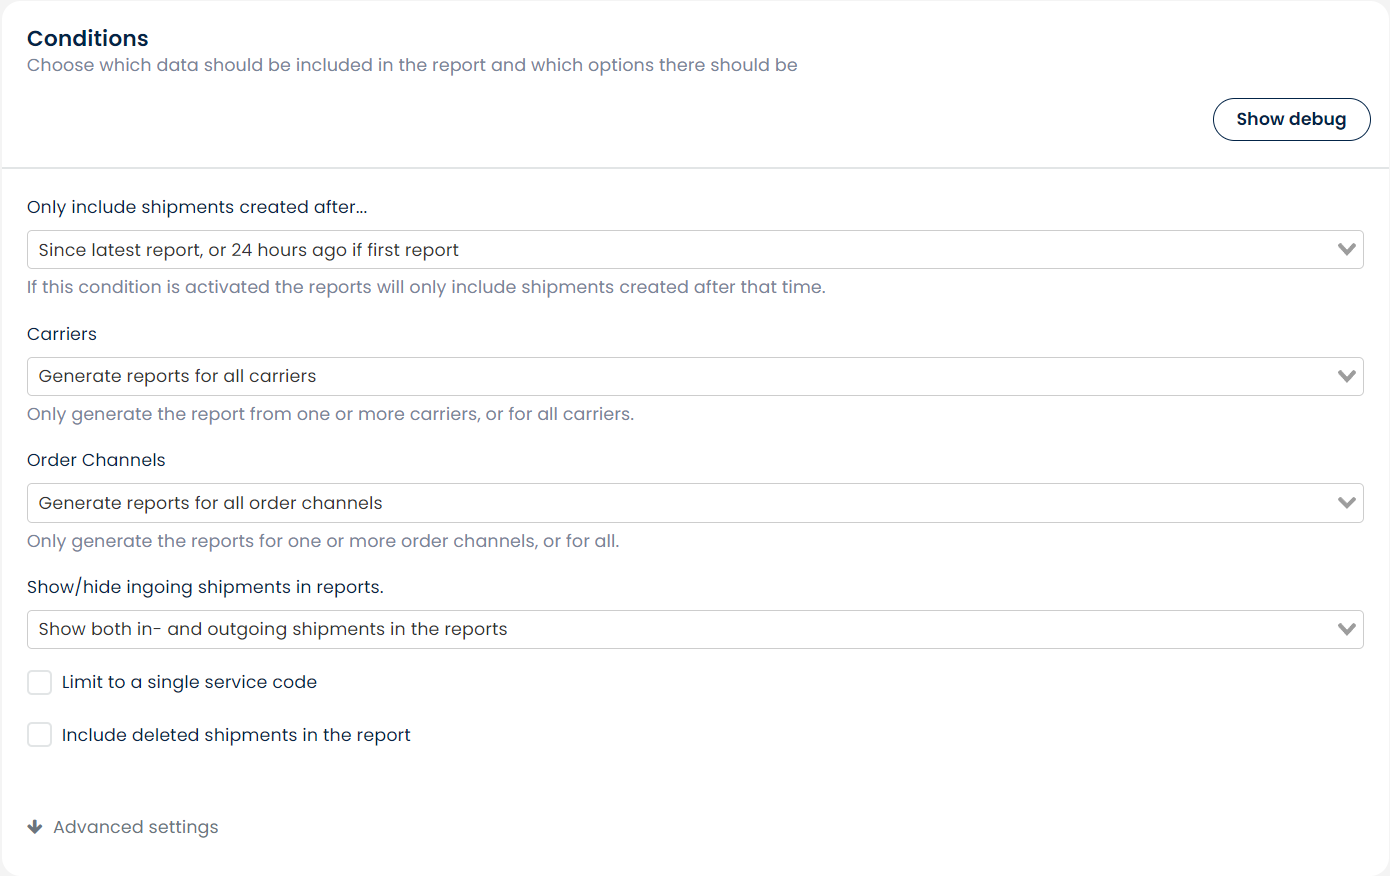
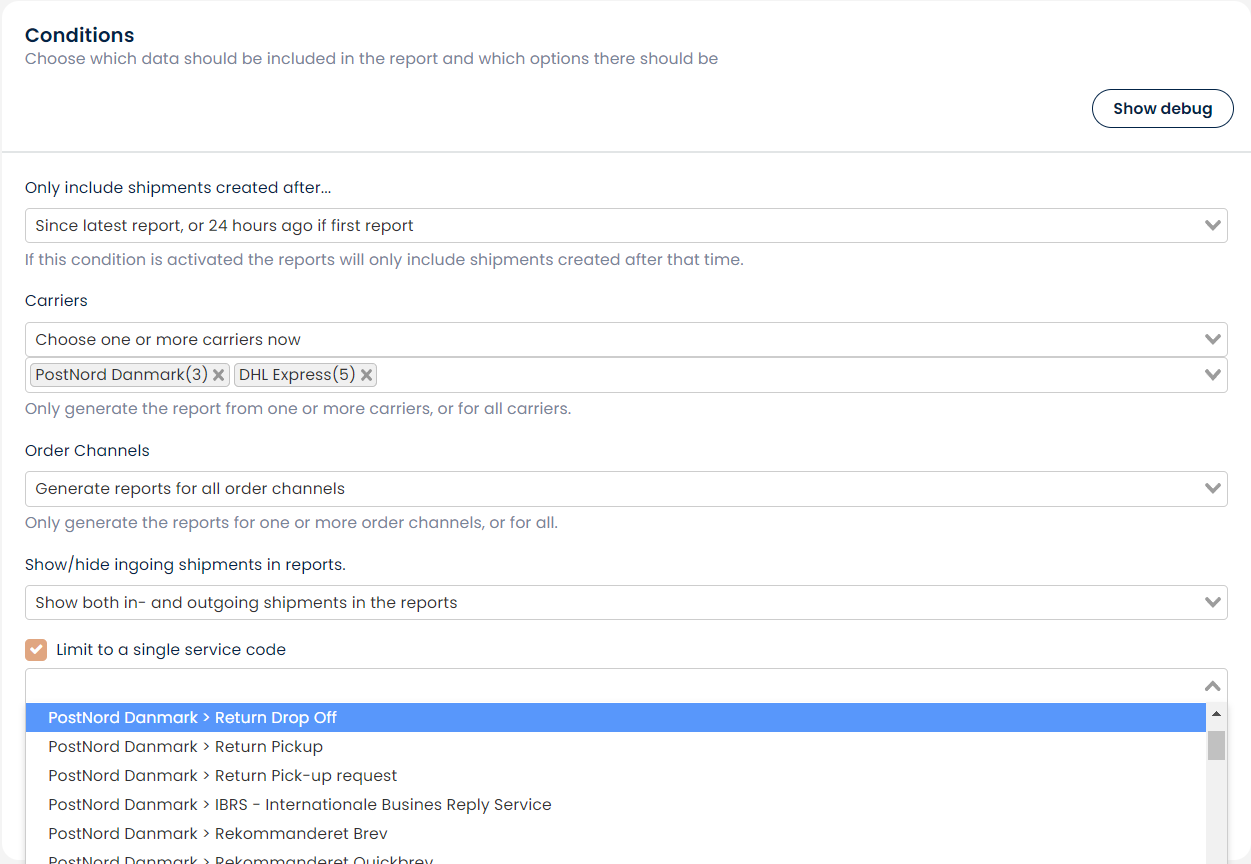
Next, I have chosen that the report should only include shipments for two of my carriers. In this case Postnord Denmark and Your GLS.
I also only wish to see outgoing shipments. This will exclude all return shipments.
It is also possible to limit the report to a specific service based on the carriers I selected. If a lot of orders run in on one service, then this would be nice to separate from other report templates.
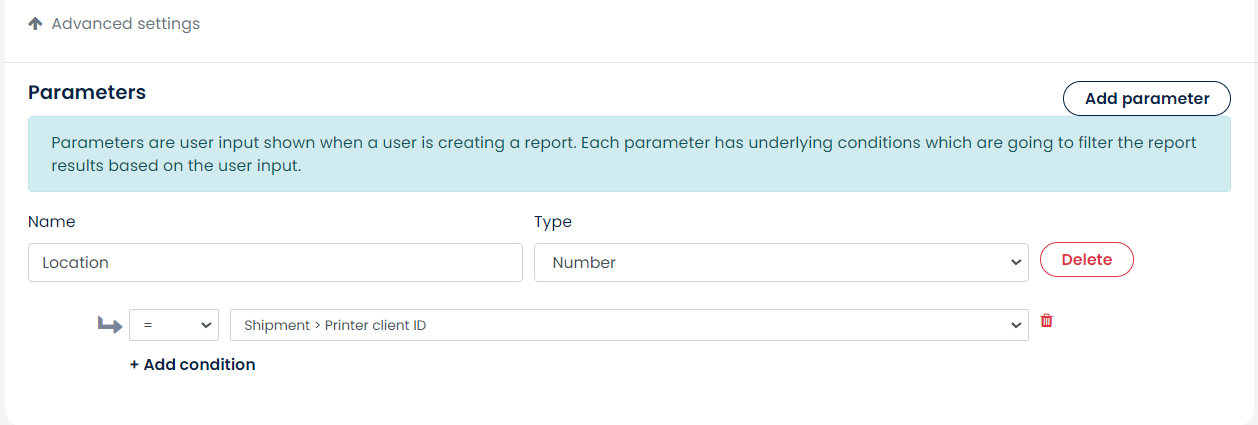
Lastly, if the input fields for generating the report don't quite cover your need, you are also able to create your own with parameters. It may be a little technical but it is not so bad once you get the hang of it.
All it does is that it offers a new manual input field to be filled in when you or your colleague will need to generate the report.
If you click Advanced settings it will unfold and give you a few new options. Here you can build your own input fields.
The header section
So now to the visual part of the template. At the top of the report, you have a section named Header. in this section, you can build multiple columns and add whatever content you would like.
In my example, I have created three columns. One for my company info, the second for just a little space between content, and the third for just whatever I feel like. Remember to set the percentage of the width of each column to define how wide each column should be. If you do not fill in the percentage width then it will distribute the columns evenly.
Type @ to see a list of available content inputs into your fields.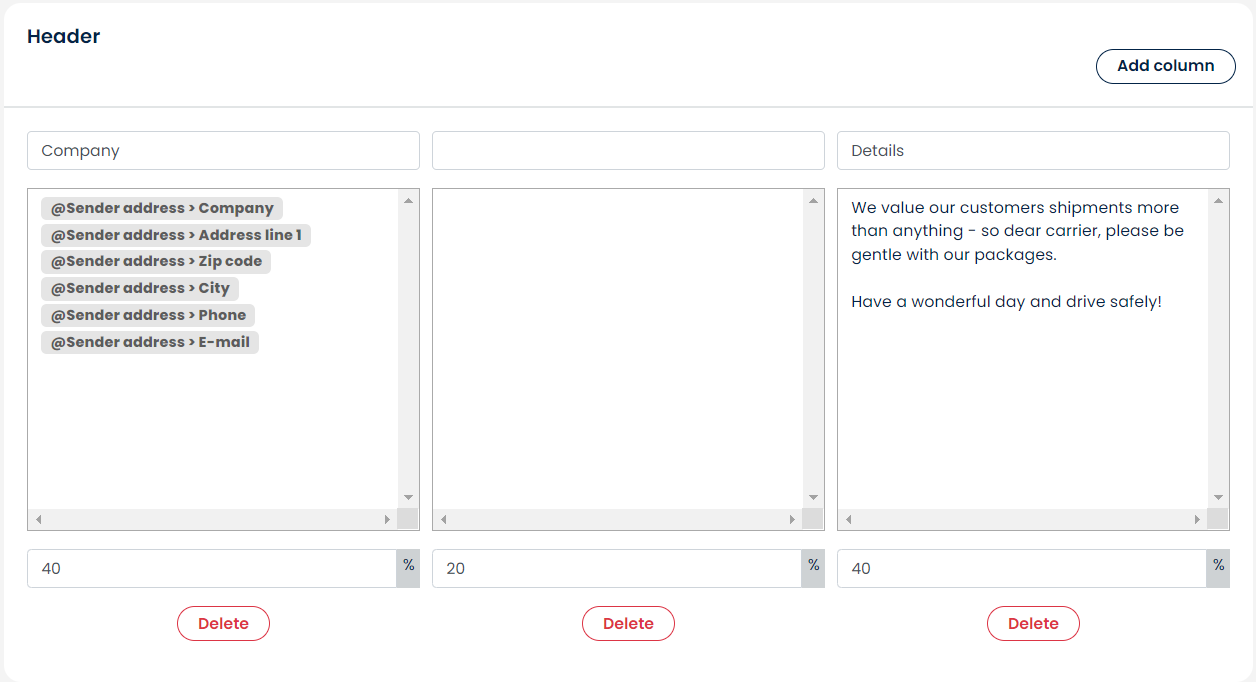
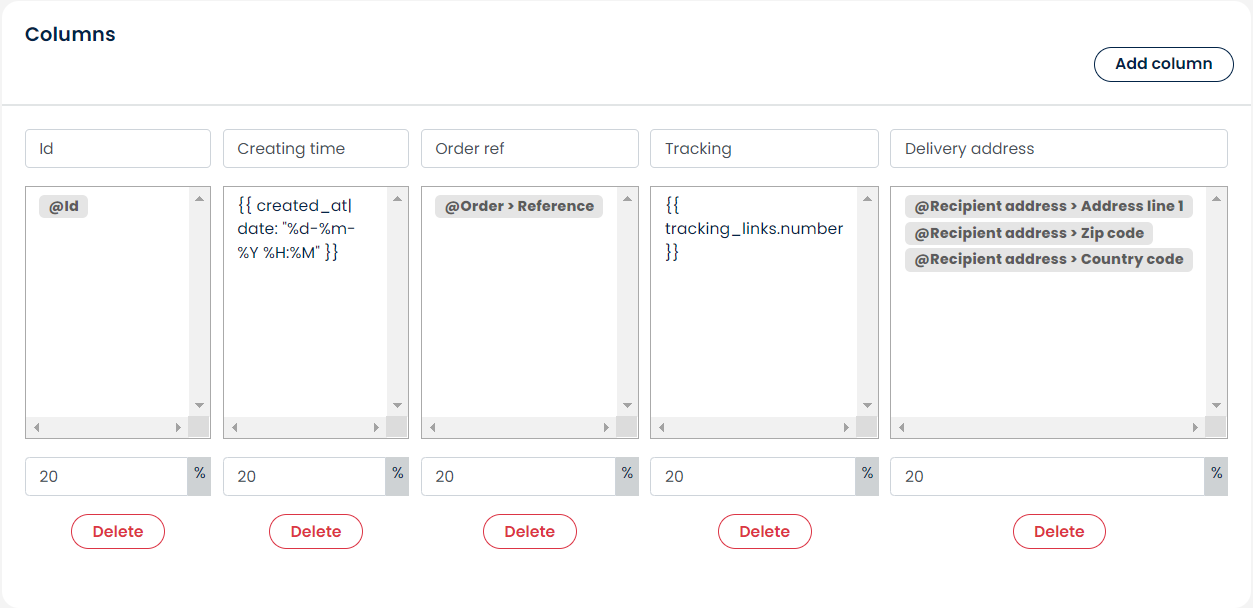
The Columns section
In this section, you can define the details of the content that should be displayed in the report itself. The example below shows what is set per default. You can however change the headers of each column, change the content with either @ or with a placeholder or simply just remove the columns you no longer want in your report.
The Footer section
The footer is the end of the template. Wrap up your report with a closing text and prepare it for the driver to sign.

