Creating shipments with UPS demands the authentication method OAuth 2.0.
UPS credentials in the GUI
- Start by creating a client ID and a client secret by following the steps in the UPS portal.
Make sure to create an application for each combination of user login and UPS customer number, and activate the following products:
- Authorization (OAuth)
- Time In Transit
- Locator
- Shipping
- Pickup
- Rating
The generated details (client ID and client secret) should now be entered in nShift Delivery.
- Log into Delivery.
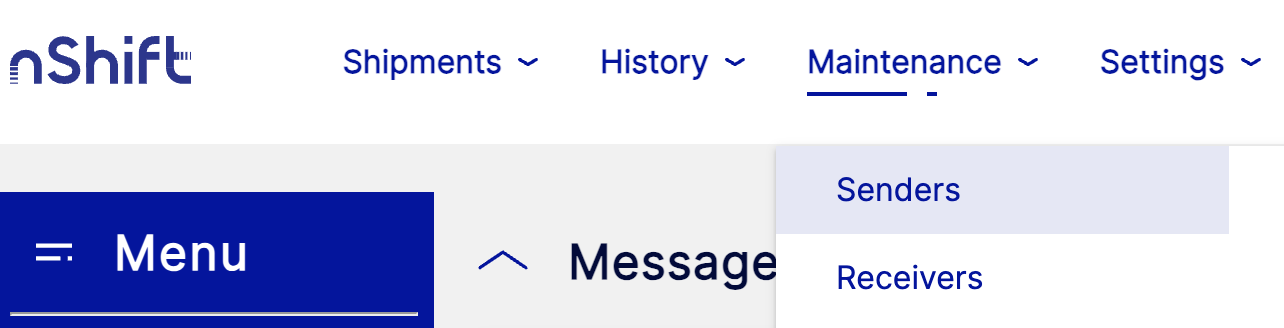
- Go to Maintenance > Senders.
- Click Search to find the sender you use to create UPS shipments.
- Click the edit icon
next to the sender.
- Go to the Carriers section > UPS.
- Enter your UPS client ID and client secret.
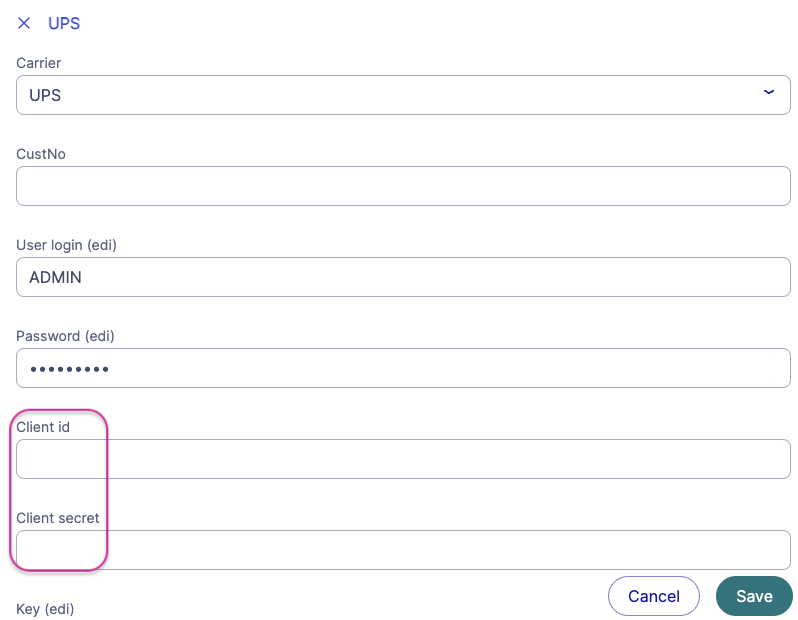
- Click Save.
UPS credentials through integration
- Start by creating a client ID and a client secret by following the steps in the UPS portal.
Make sure to create an application for each combination of user login and UPS customer number, and activate the following products:
- Authorization (OAuth)
- Time In Transit
- Locator
- Shipping
- Pickup
- Rating
The generated details (client ID and client secret) should now be entered in nShift Delivery.
- Enter your UPS client ID and client secret in JSON or XML.
If you need help, contact your integration partner.
Example: JSON format
"senderPartners": [{
"id": "UPS",
     	"custNo": "UPS customer number",
     	"ediUserId": " User login (EDI",
      	"ediPassword": " Password (EDI)",
"ediUserId2": "Cliend ID,
"ediPassword2": "Client secret"
}],
Example: XML format
<partner parid="UPS">
      	<val n="custno">UPS customer number</val>
<val n="ediuserid">User login (EDI)</val>
      	<val n="edipassword">Password (EDI)</val>
<val n="ediuserid2">Client ID</val>
      	<val n="edipassword2">Client secret</val>
</partner>